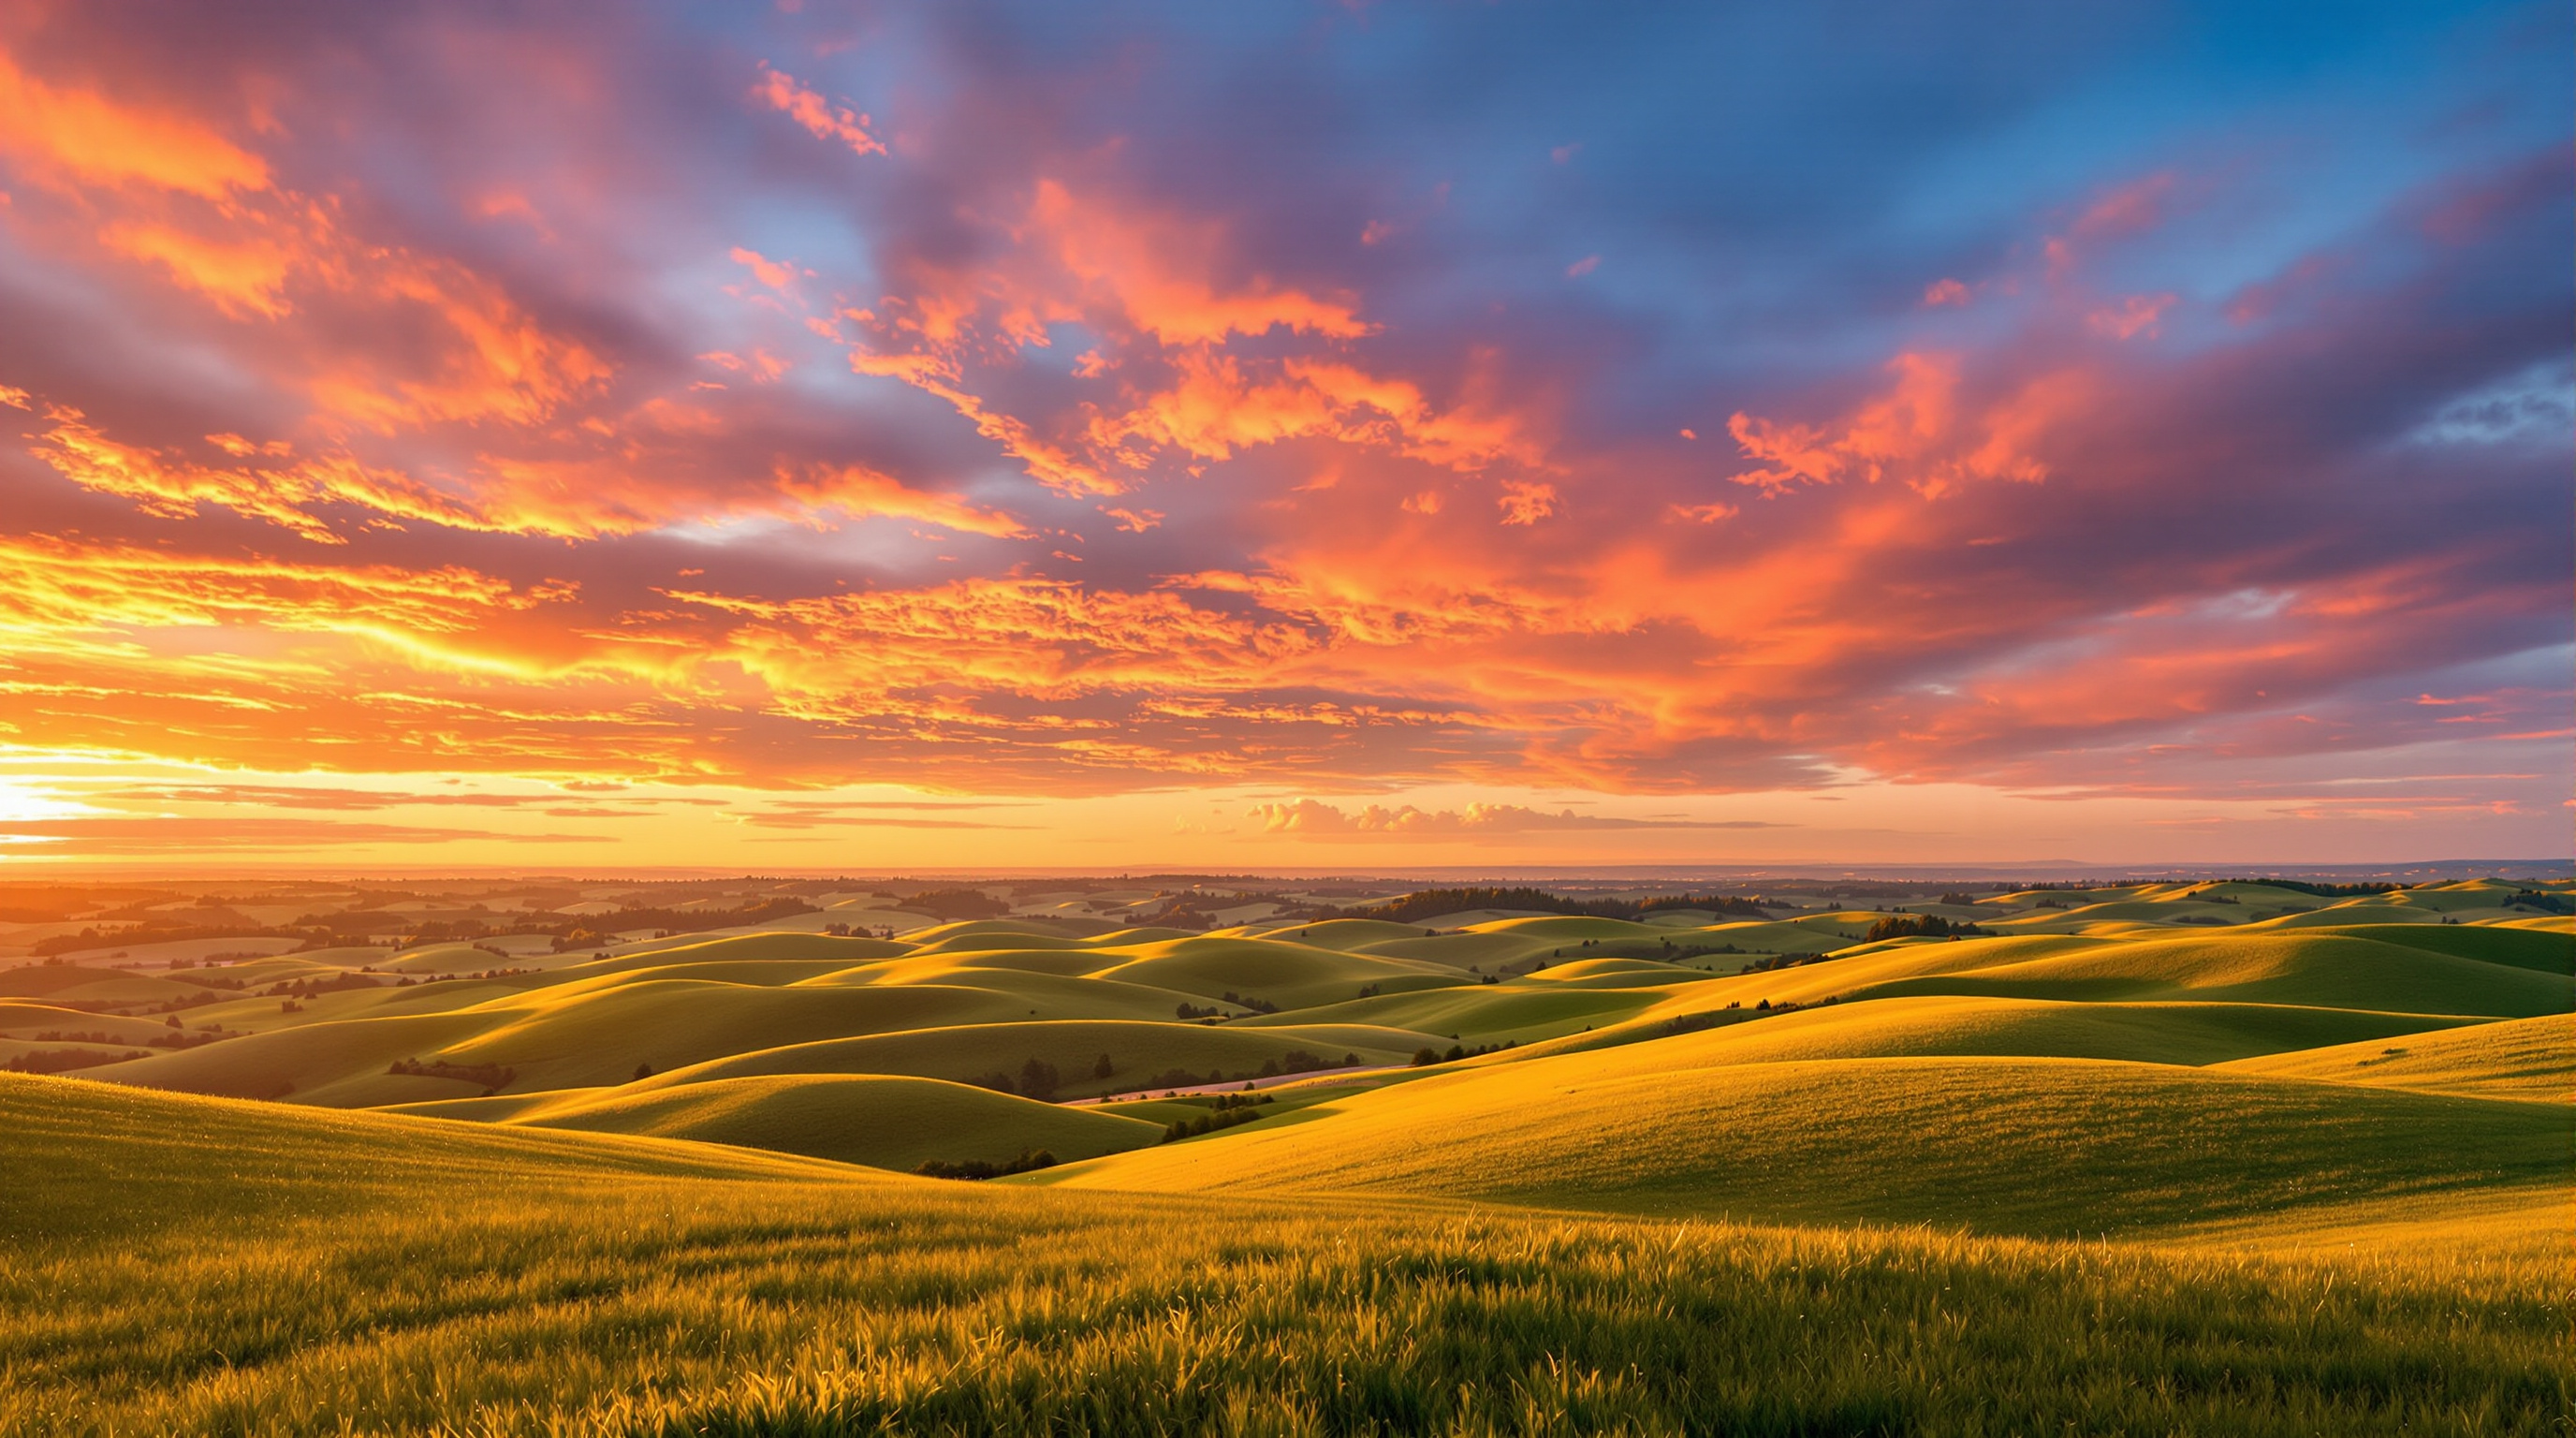
Golden hour, that magical period shortly after sunrise and before sunset, offers photographers the most beautiful natural light of the day. The warm, soft illumination creates flattering portraits, dramatic landscapes, and a sense of warmth that's impossible to replicate artificially.
Understanding Golden Hour Light
Golden hour occurs when the sun is low on the horizon, typically within an hour of sunrise or sunset. During this time, sunlight travels through more atmosphere, scattering blue wavelengths and allowing warm red and orange tones to dominate. This creates naturally warm color temperatures around 2500-3500 Kelvin, compared to midday's cooler 5500K.
The light quality changes dramatically throughout the golden hour. Early in the period, you'll find softer, more diffused light. As the sun rises higher or sinks lower, the light becomes increasingly directional with longer shadows. Understanding these changes helps you plan your shoots more effectively.
Camera Settings for Golden Hour
Aperture: Use wider apertures (f/2.8-f/5.6) for portraits to create beautiful bokeh with the warm background. For landscapes, stop down to f/8-f/11 for sharpness throughout the frame.
Shutter Speed: Light levels drop quickly during golden hour. Start with your minimum handheld speed and be prepared to increase ISO or use a tripod as the sun sets. A general rule is to keep your shutter speed at least 1/focal length for sharp handheld shots.
ISO: Begin at your camera's base ISO (typically 100 or 200) and increase as needed. Modern cameras handle higher ISOs well, so don't be afraid to push to 800 or 1600 to maintain proper exposure.
White Balance: Auto white balance often neutralizes the warmth you're trying to capture. Set your white balance to daylight (5200-5500K) or even cloudy (6000K) to preserve and enhance the golden tones.
Planning Your Golden Hour Shoots
Use smartphone apps like PhotoPills or The Photographer's Ephemeris to track sunrise and sunset times, sun position, and quality predictions. These tools help you arrive at locations with enough time to set up and find your compositions.
Scout locations during different times of day when possible. Understanding how light falls across a scene at various times helps you visualize your golden hour compositions in advance.
Check weather forecasts, but don't dismiss cloudy conditions. Light cloud cover can create spectacular color shows during golden hour, while heavy overcast may eliminate the warm tones entirely.
Techniques for Better Results
Backlighting creates beautiful rim light around subjects and can produce stunning lens flare. Position your subject between the camera and sun, and use exposure compensation to prevent silhouettes if desired.
Side lighting emphasizes texture and creates dimensional portraits with dramatic shadows. This angle works particularly well for landscape photography, revealing contours and depth in terrain.
Front lighting during golden hour produces flat but evenly lit scenes with consistent warm tones. This approach works well for group portraits where even lighting is more important than dramatic shadows.
Common Mistakes to Avoid
Arriving too late is the most common mistake. Golden hour moves quickly, and the best light often lasts only 15-20 minutes. Arrive at least 30 minutes before sunset to find your position and set up.
Over-editing golden hour images by adding more warmth in post-processing can look unnatural. The natural colors are usually sufficient with minimal adjustment.
Forgetting to check the opposite horizon can mean missing spectacular light. Sometimes the most beautiful colors appear in the sky opposite the sun, where clouds reflect golden light.
Shooting Video During Golden Hour
Golden hour light benefits videographers as much as still photographers, but the rapidly changing conditions create additional challenges. Set your camera to manual exposure mode to prevent automatic adjustments from creating visible brightness shifts mid-clip. Lock white balance to daylight to maintain consistent warmth across cuts.
Time-lapse sequences captured throughout the full golden hour progression condense the gradual light transformation into compelling short videos. Use an intervalometer set to 3-5 second intervals for smooth results, and shoot in raw if your camera supports it for maximum color grading flexibility.
Post-Processing Golden Hour Images
Start with white balance adjustment if needed, being careful to maintain the natural warmth without pushing into orange territory. Reduce highlights to recover sky detail and lift shadows slightly to reveal details in darker areas.
Contrast adjustments can enhance the dimensional quality of golden hour light. Add clarity or texture sparingly to emphasize the light's directional quality without making images appear harsh.
For landscape images, graduated filters can help balance exposure between bright skies and darker foregrounds. Apply these digitally or use physical graduated neutral density filters during capture.
When batch-processing golden hour images, create a base preset from your best-exposed frame and apply it across the series, then fine-tune individual shots. This approach ensures visual consistency across a gallery while accounting for the light shifts that occur throughout the session.